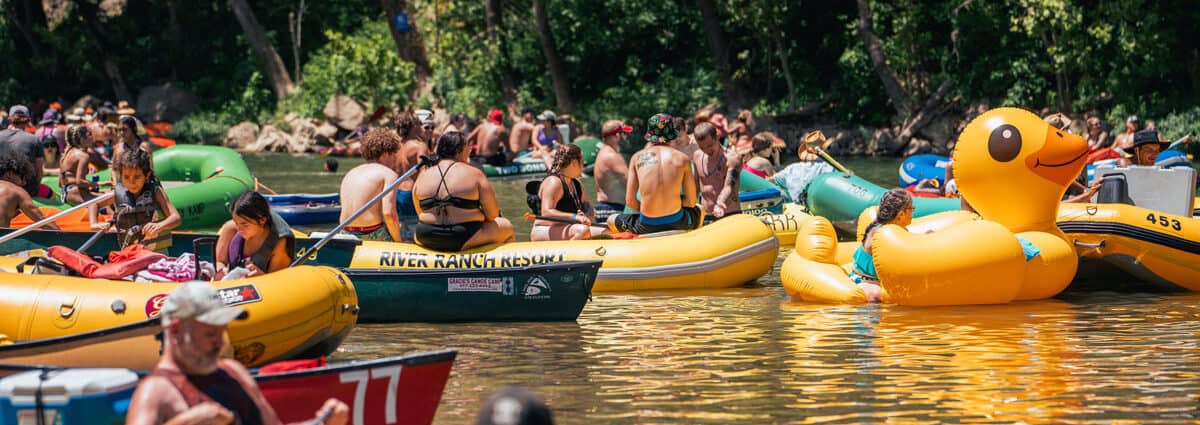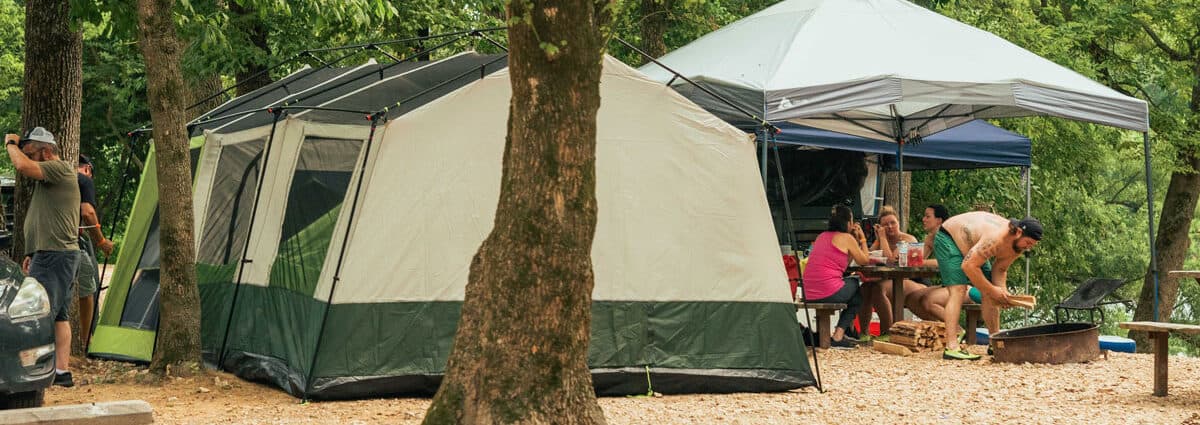

Enjoy this experience with Family & Friends!
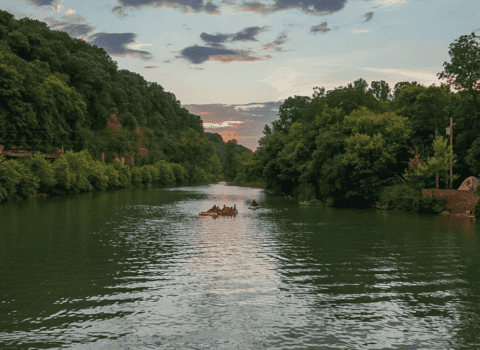
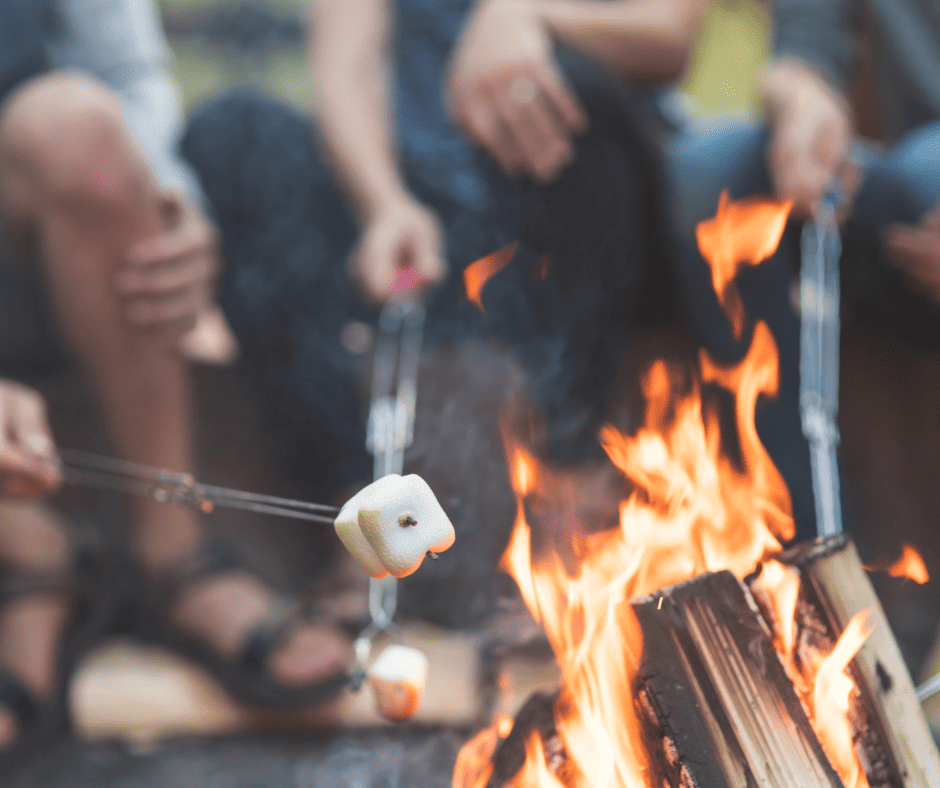
Building a campfire during your visit is a prime way to create memories that last a lifetime. Campfires can bring about laughter, passionate, silly, or even serious conversations. They are the stuff of cherished memories. Personally, I love enjoying fires with my family; it gives us the opportunity to connect and discuss various topics. Plus, what better way to enjoy the quintessential s’more? My kids love them! Fires with friends under the stars, enjoying some beers or cocktails in the outdoors, bring a deep sense of accomplishment, warmth, and relaxation. Imagine sitting with your friends or family, hearing the crackle of the fire during a quiet moment, or hearing one of your kids laugh at a silly dad joke—my personal favorite—or asking you a question. You get to fully engage with your family in nature under the stars. I am definitely ready for those spring to fall fires! Now, let me lay out the most effective way to build a campfire.
First, gather your firewood. You will need some larger chunks and quite a few smaller sticks, referred to as kindling. You will also want to gather some fire starters; for this, you can use dry leaves, twigs, grass clippings, or even some receipts or loose paper that we all have floating around in our cars, wallets, or even your wife’s purse—just make sure it’s okay to burn those items! (We sell them at the camp store in bundles; they are really handy because they include just about everything you could need except the matches or lighter, but we also sell those items as well!)
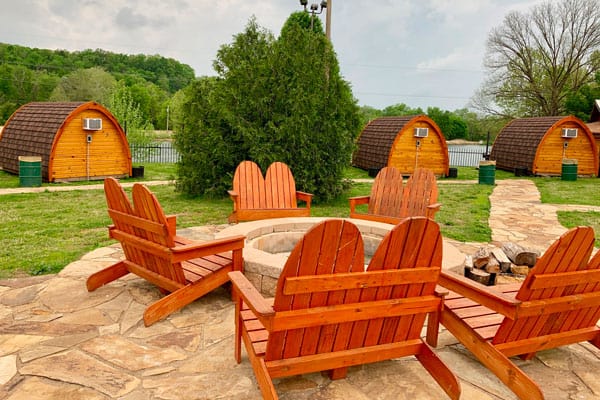
Next, ensure you BUILD THE CAMPFIRE IN YOUR FIRE PIT, provided at every campsite. DO NOT HAVE FIRES OUTSIDE YOUR DESIGNATED FIRE PIT. Unfortunately, cabins only have grills, but you can still build small fires there. (For cabins, we do have a community fire pit located near the volleyball court and the landing where boats arrive after a day on the water.)
Take all your wood that you have gathered (if you have bought the bundles, then they will include a couple of larger chunks along with smaller ones). A pro tip: use the bag as your fire starter; it’s excellent for this purpose.
Place a small amount of your smaller items like paper, leaves, twigs, etc., or the bag the wood came in, in the center of the fire pit.
Then, arrange your smaller branches or kindling from the bags into a teepee shape over your fire starter, leaving an opening on the windward side to light the fire. Ensure there is enough space between your kindling and fire starter for air to circulate.
Once you’ve done this, add more layers of kindling in the opposite direction to the first layer, forming a sort of criss-cross pattern. Continue this until you have a stable structure.
Now comes the fun part: lighting it. Use a lighter or matches to ignite the paper, twigs, leaves, etc., or your bag, and blow lightly at the base to help the flames spread to your kindling.
Once your kindling is burning well, gradually add your larger wood chunks to sustain the fire, but be careful not to smother your flames.
Now, all you have to do is maintain the fire. Keep an eye on it and add more wood as needed. It’s easy to get carried away and make too big a fire! It’s best to designate someone as the fire monitor or “fire stoker”—probably the most fun job, but it can be dangerous. Be careful not to just throw the wood on; place it gently and don’t burn yourself!
Lastly, once you’re done with your fire, it’s important to pour water over it and stir the ashes to ensure everything is thoroughly wet and extinguished. If water is not available, smother it with dirt.
Remember the famous saying: Leave no trace. It’s our job to keep our site as clean as possible so the next fellow fire builder can have an enjoyable experience just like you!
Hope this helps! And I cannot wait to see your campfires out there! – Dustin Shurback (Owner)